
Needed materials:
- Nether gundam conversion kit
- HG RX-78-2 Revive kit
- 3mm (hand) drill
- putty
- 3mm runner leftover
3mm (hand) drill:
to drill out small holes for pegs.
Putty:
Fill seam-lines (if wanted)
HG RX-78-2 Revive:
The basic of which we are going to build our Nether gundam.


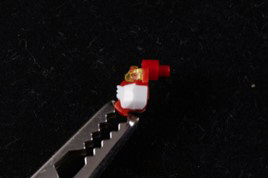
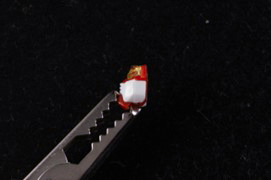
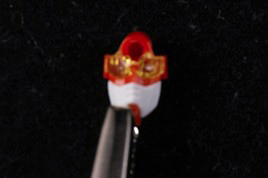
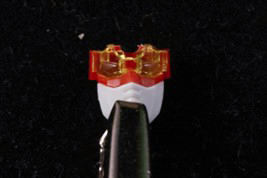
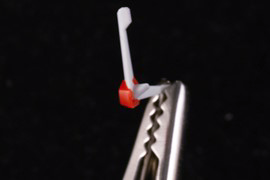
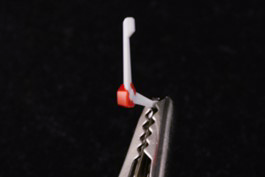
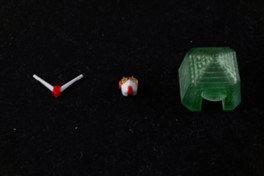
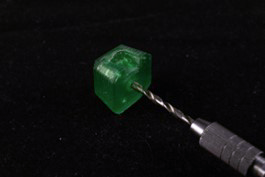

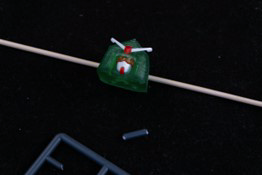
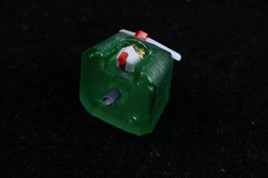
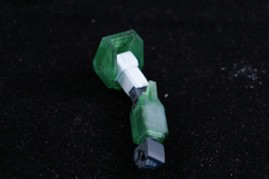
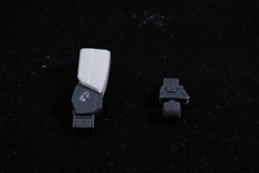
1. Head:
Take apart the head and take out the face plate and V-fin.
Modify each part according to the pictures and glue them in place, drill out the hole on the bottom of the Nether head. Source a 3mm runner bit to act as a peg. (from a leftover runner)
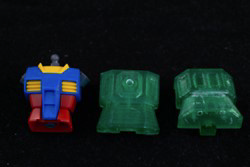

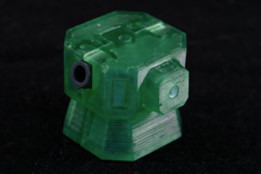
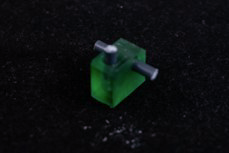
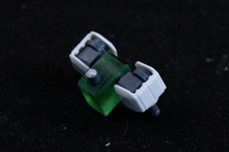
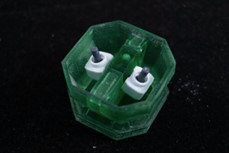
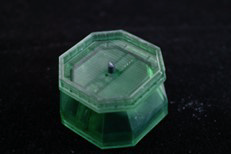
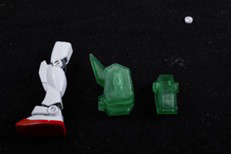
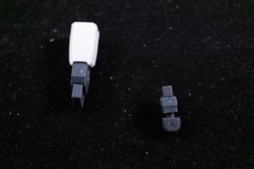
2. Chest:
Take out the shoulder joint poly-caps and place them inside the front part of the printed chest. Drill out all of the holes (on both parts) and insert 2 pegs in the front to help with the alignment. Glue the two parts together so the poly-caps are held firmly between the two parts.
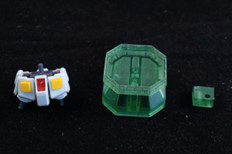
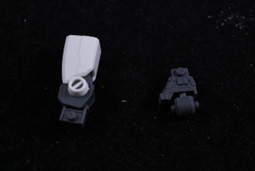
3. Skirt:
Starting with the base of the skirt you need to drill out all the holes again and take replicate the picture. Make sure the back of the hip joints stick out at the back, so when you insert it the legs are in the middle of the skirt. Finalize the piece with a peg at the top to insert into the chest.
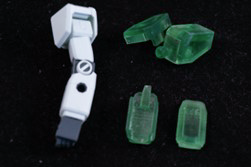


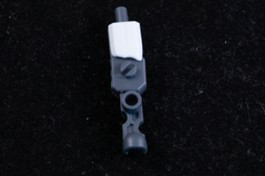
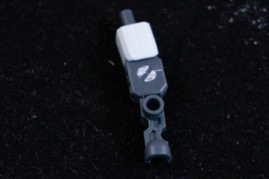
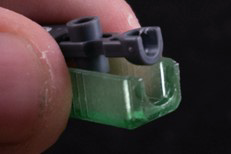
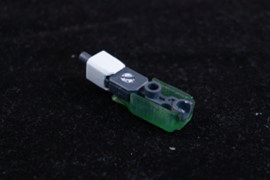
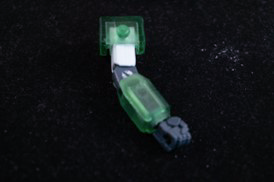
4. Shoulders & Arms:
Assemble the shoulder as you would any other HG-shoulder, with the poly-cap in the middle. You might need to sand the entire plug slightly to get the parts to align properly, when they do glue them together.
To make them more accurate to that of the Nether gundam you need to mod the arm parts as shown in the pictures. The forearm is glued in place on the brim of the forearm,. You need to sand the base of both forearm pieces to get them to stay flush against each other and glue those together. Repeat this for the other arm as well.
*Do note the front of the forearm pieces aren't the same and make sure the side with the taller back is at the back of the arm.
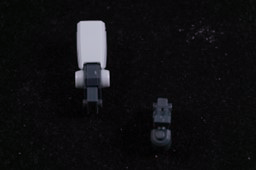
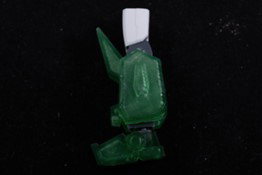
5. Legs:
Take out the ankle joint and upper leg from the leg. Modify these as shown in the pictures, to make them fit in the holes inside the leg. Glue all these parts into place to finalize the leg, repeat this for the other leg.
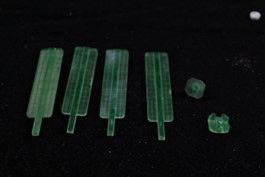
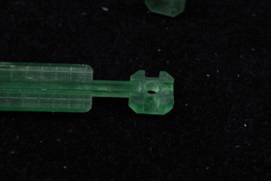
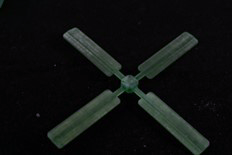
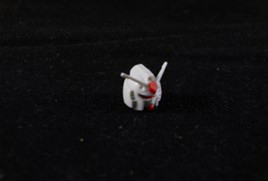
6. Windmill:
Glue the wings into the base one by one, making sure they are straight! Sand the peg down if needed so it fit's in the chest and glue it into place
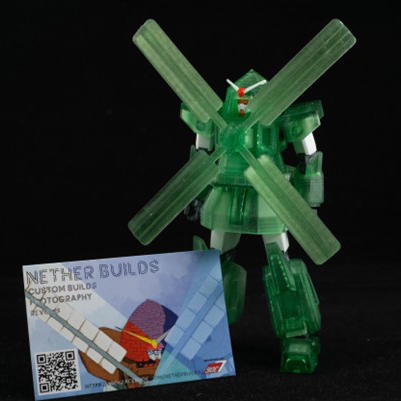
Thank you for building the Nether gundam and supporting my first ever conversion kit! If at any point you get stuck during the build process be sure to contact me on my Instagram page: Netherbuilds
